How to start a faceless YouTube explainer channel with Claude
Most faceless explainer videos are a written script, a voiceover, and animated graphics timed to it: diagrams, maps, charts and kinetic text instead of a face on camera. With Claude Code you can build the graphics as HyperFrames code from a finished scene, sync them to your narration, and render the MP4 on your own computer.
The channels that last treat AI as the production crew, not the author. The topic choice, the research, the script and the point of view are yours; Claude Code handles the layout, animation and timing. That matters for viewers, and it matters for monetisation, because YouTube does not pay for mass-produced or template-like content (see the YouTube monetisation guide).
A typical video has three layers: narration (your own voice or a licensed voice), a visual for each beat of the script, and captions. Explainer, map and chart scenes cover most beats. Ask Claude Code to make each one match your channel's colours and fonts so every video looks like the same show.
A software engineer starting a channel often finds graphics the hardest part. Starting from a finished scene removes most of that work: you change the words and numbers instead of designing from a blank page.
Scenes to start from
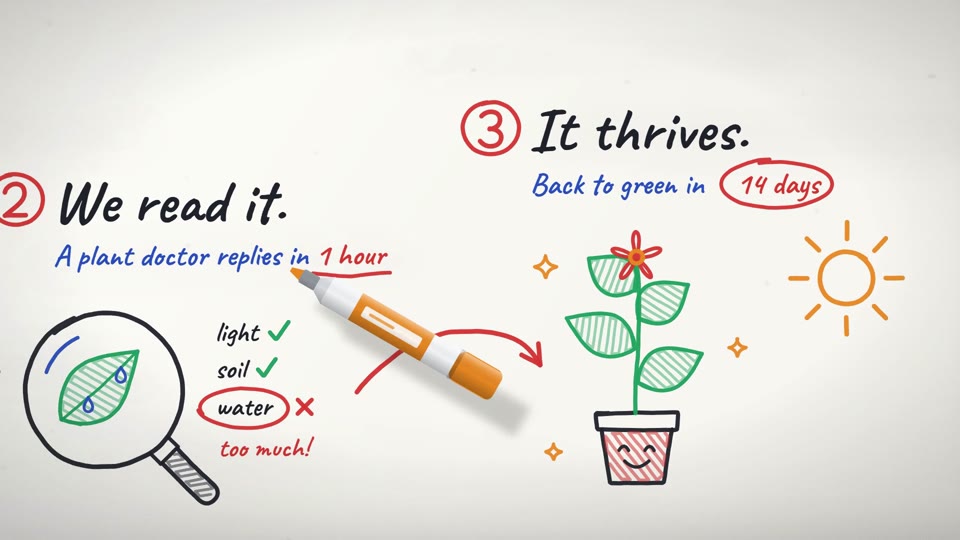
- Whiteboard doodle explainer (widescreen 16:9)
- Clay-style explainer (vertical 9:16)

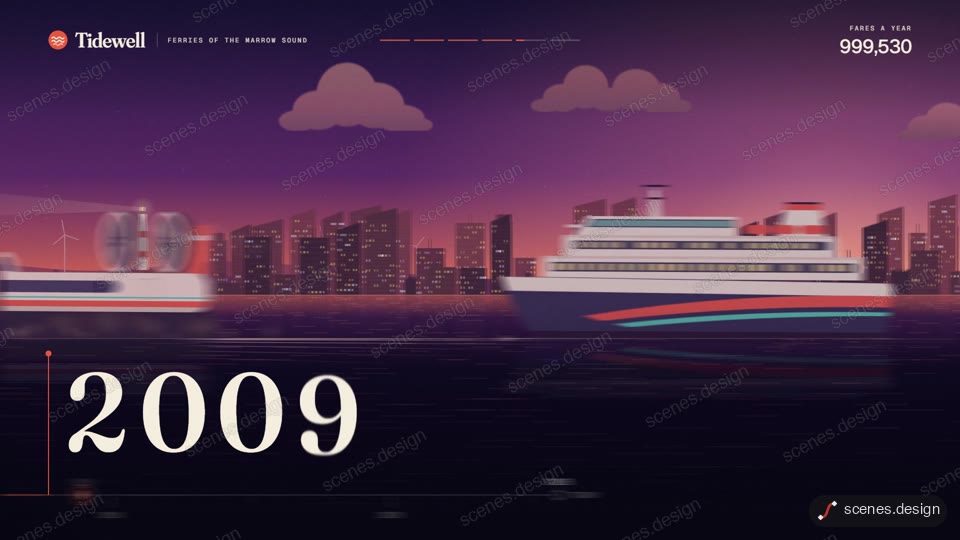
- Company history timeline (widescreen 16:9)
- Spoken word kinetic type (vertical 9:16)

Step by step
Choose a narrow topic and a look
Pick a subject you can research well and a visual style to keep across every video, for example clay diagrams or a whiteboard look. Consistency helps viewers recognise your channel.
Write the script and record the voiceover
Write the script yourself or with Claude as an editor, then record it. Split it into beats of one idea each.
Build one scene per beat
Pull a matching scene for each beat and ask Claude Code to change the text, numbers and colours. Put your audio in the folder and ask it to time each beat to the narration and add captions.
Check it and render the MP4
HyperFrames renders the MP4 on your own computer, free, as often as you like. You need Node.js installed. Check first: it reports anything off-frame or broken.
npx hyperframes check my-scene
npx hyperframes render my-scene
Edit, upload and learn
Assemble the clips in your editor if needed, upload, and watch retention in YouTube Studio. Change the next script based on where viewers leave.
Questions
Are faceless AI channels allowed on YouTube?
Yes. YouTube allows AI tools, but its monetisation policy excludes content that is mass-produced, repetitive or made from generic templates. Original scripts and real creative choices are what count.
Do I have to use an AI voice?
No. Many channels use the creator's own voice. If you use a synthetic voice, check its licence allows monetised use.
How long does one video take?
It depends on length and research. The graphics are usually the fastest part once you have a style and a set of scenes you reuse.
Can I make Shorts as well?
Yes. Ask Claude Code for a vertical 9:16 version of the same scene and render it separately.
Is it free?
Browsing and previewing every scene is free, and free accounts copy 2 scenes a day. The render is free because HyperFrames makes the MP4 on your own computer, with no watermark on the video.