Explainer video examples: 12 animated styles and how to make your own
An explainer video is a short video, usually 30 to 120 seconds, that explains one product, process or idea in plain steps. The best examples state the problem, show the answer in two or three steps and end on one clear line. Below are 12 animated explainer video examples by style, from whiteboard doodles to live science diagrams, each one ready to copy and make your own.
Every good explainer follows the same spine: a hook that names the problem, two or three steps that show how it gets solved, and a close that tells the viewer what to remember or do next. The animation style changes the mood, but the spine stays the same. If a script cannot be said in three steps, it is usually two explainers, not one.
The format is older than YouTube. Common Craft's "in Plain English" videos (2007) explained web tools with paper cut-outs on a whiteboard, and RSA Animate (2010) made the hand-drawn whiteboard talk famous. Startup homepages then adopted the short animated product explainer, which is the style most people now picture when they hear the term.
The main styles of explainer video are: whiteboard and sketch, isometric and flat illustration, clay and 3D characters, live technical diagrams and cutaways, SaaS product explainers with floating UI, news and data explainers, timelines, and step-by-step recipe or how-to formats. The 12 examples below cover each style.
Match the style to the audience. Whiteboard and sketch feel personal and suit coaches and teachers. Isometric and clay feel friendly and suit consumer apps. Live diagrams and cutaways suit engineering, science and education channels, because the viewer sees the mechanism move. SaaS explainers with real-looking UI suit B2B products, where the buyer wants to see the screen.
Keep one idea per scene and one sentence per card. Viewers read on-screen words faster than you expect but cannot read two lines while something else moves. Put the biggest motion on the step that matters most, and leave a beat of stillness after the key line so it lands.
Every example here was made the same way. Claude (Sonnet or Opus) writes the animation as code: HTML, CSS and GSAP for 2D motion, Three.js for 3D, all on one timeline. HyperFrames then renders that code to an MP4 frame by frame, so the result is sharp at any size and identical every time you render it.
With Claude you write the script and describe the style; Claude builds the scenes and their timing as code. Change a step, a number or a product name and only that part moves. That is the main difference from template tools, where a longer word can break the layout and every edit means dragging keyframes.
Each scene gives you two ways in. Copy code hands Claude the finished film, so it only edits what you ask for and uses almost no usage. Copy prompt has Claude rebuild the scene from the prompt that made it, which uses more usage and can come out differently. Copy code is the better start when you like the preview as it is.
To time an explainer to a voiceover, give Claude the script with rough timings, for example "step one lands at 3 seconds, step two at 8". Claude moves each scene to match. You can add the voiceover in your editor afterwards, or ask Claude to place an audio file on the timeline.
How long should an explainer video be? For a homepage or ad, 30 to 60 seconds; for YouTube education, as long as each step stays clear. What makes a good explainer video? One problem, few steps, plain words and motion that shows the mechanism rather than decorating it.
The examples
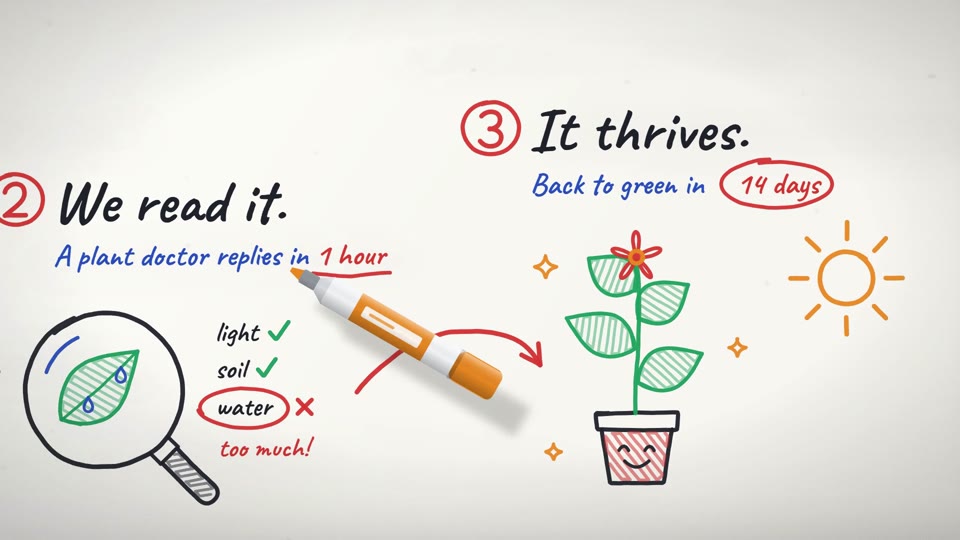
- Whiteboard explainer: a marker draws the brand name, then three steps, each with its own doodle. The RSA Animate look.
- Pencil sketch explainer: a character drawn in one wobbly line pops off the page into clay and builds a paper town.
- Isometric explainer: a message travels from one phone through a server to another, in calm isometric line drawings.
- Clay explainer: a lump of clay splats onto a table and is reshaped into three steps, one per headline.
- Blueprint explainer: a product draws itself on blueprint paper, explodes into labelled parts and clicks back together.
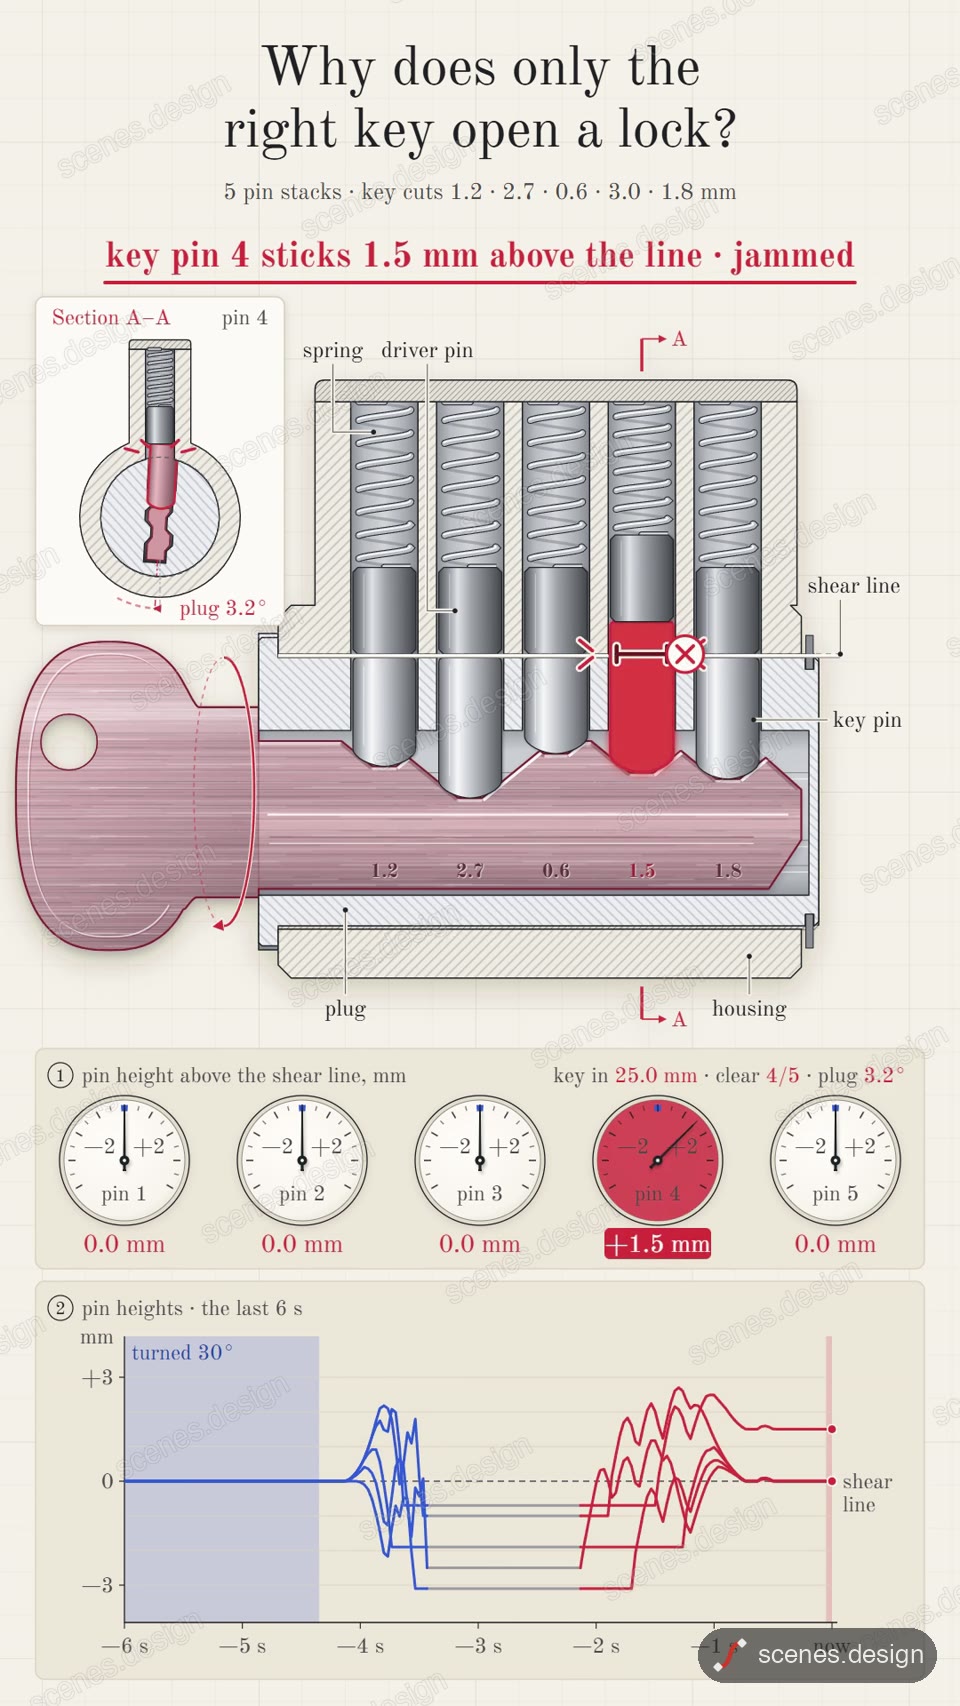
- Live diagram: how a lock works, with the right key lifting every pin and a wrong key jamming the plug.
- Engineering explainer: disc brakes clamp a spinning disc while gauges and a live graph read the same stop.
- Science explainer: how GPS works, from the satellite constellation down to three lines of light crossing at a street corner.
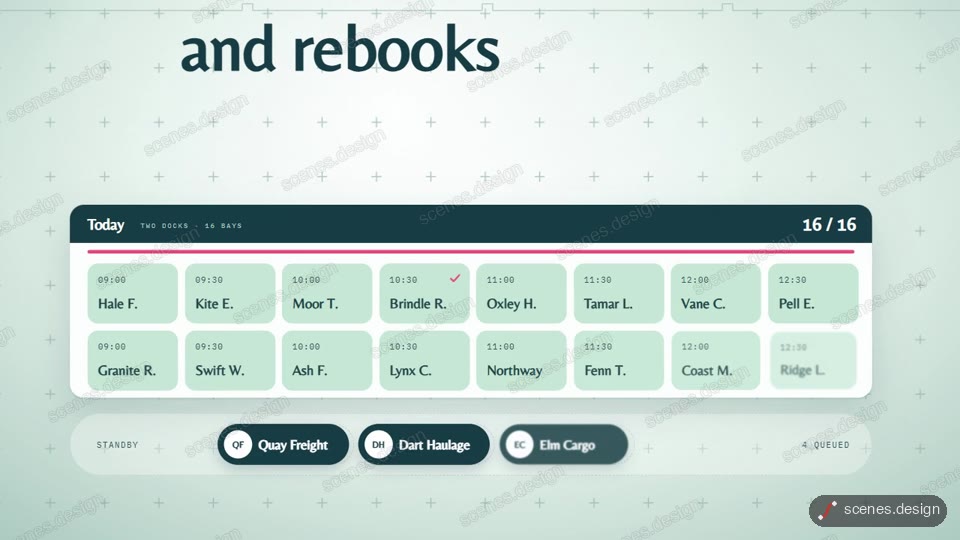
- SaaS explainer: floating 3D UI cards and word-by-word headlines show a booking app filling empty slots.
- News explainer: an intelligence-file style breakdown of a ship incident, with thin-line maps and highlighter captions.
- Timeline explainer: the camera travels along one rail and each milestone builds as it lands.
- How-to explainer: an overhead recipe where each ingredient arrives with its own motion and a timer counts each step.
Scenes to start from
- Whiteboard doodle explainer (widescreen 16:9)
- How a lock works (vertical 9:16)
- Clay-style explainer (vertical 9:16)

- Booking app explainer (widescreen 16:9)
Step by step
Pick an example and open the scene
Open any example above in the Scenes Library. Watch it through and pick the one whose look and pacing are closest to what you need. Browsing and previewing every scene is free.
Choose Copy code or Copy prompt
Copy code gives you the exact film in the preview and uses almost no Claude usage, because Claude only edits what is already built. Copy prompt has Claude build the scene again from the prompt that made it; it uses more usage and the result can differ. In Claude Code you can also pull the code straight into a folder with the Scenes skill (see Docs).
node ~/.claude/skills/scenes-library/pull.mjs whiteboard-doodle my-explainerSwap in your script
Paste into Claude Code (or claude.ai to watch a live preview) and describe the changes in plain English, for example: "same whiteboard style, brand Tidyhive, three steps: snap a photo of the room / get a cleaning plan / book a cleaner in one tap, 45 seconds". Claude keeps the timing, camera and effects and swaps in your content.
Check it and render the MP4
HyperFrames renders the MP4 on your own computer, as often as you like, with no watermark. You need Node.js installed. Run the check first: it reports anything off-frame or broken.
npx hyperframes check my-explainer
npx hyperframes render my-explainer
Questions
What is an explainer video?
A short video, usually 30 to 120 seconds, that explains one product, process or idea in a few plain steps. Most are animated, so the visuals can show things a camera cannot, such as data moving between phones or the inside of an engine.
What are the main types of explainer video?
Whiteboard and sketch, isometric and flat illustration, clay and 3D characters, live technical diagrams and cutaways, SaaS product explainers, news and data explainers, timelines, and step-by-step how-to videos.
What makes a good explainer video?
One clear problem, two or three steps, one sentence on screen at a time, and motion that shows how the thing works rather than decorating it. End on a single line the viewer should remember.
How long should an explainer video be?
30 to 60 seconds for a homepage, ad or social post. Longer for education on YouTube, as long as each step stays clear and the pace does not drop.
Can Claude make an explainer video?
Yes. Give Claude the script and a style; it writes each scene as code and HyperFrames renders the MP4. Starting from one of the examples above is the quickest route.
What is the difference between Copy code and Copy prompt?
Copy code gives you the exact film in the preview and uses almost no Claude usage. Copy prompt asks Claude to build the scene again from the prompt that made it, which uses more usage and can give a different result.